
The Back Bridge
📖 Table of Contents
- What Is the Back Bridge?
- How to Perform the Back Bridge Correctly
- How Often Should You Do the Back Bridge?
- Why the Back Bridge Works for Lower Back Pain
- The Science Behind the Back Bridge
- The Back Bridge for Posture Correction
- The Back Bridge and Overall Flexibility
- The Back Bridge as a Tool for Core Engagement and Stability
- Make It Your Way
- Frequently Asked Questions
I remember the first time I tried the back bridge. It was after a long day at work, my back aching from sitting at my desk for 10 hours. I had read about it online, but I had never tried it myself. The first time I did it, I was surprised by how much tension it released in my lower back and hips. It was a simple movement, but it felt like a revelation.[1]
The back bridge is not just another exercise—it's a posture, a reset, a way to reconnect with your body. I've done it in the morning after a restless night, in the afternoon after a long meeting, and even late at night when my back felt like it was holding onto all my stress. It's one of those things that feels small in the moment but makes a huge difference in how you feel for the rest of the day.
What I love most about the back bridge is that it doesn't require any special equipment or a gym membership. It can be done on a mat, a towel, or even a firm floor. It's accessible, and it's effective. I've watched it help people from all walks of life—from office workers to athletes, from new parents to retirees. It's that kind of movement that just works.
Why You'll Love This Movement
- Quick relief for lower back tension
- Improves posture and spinal alignment
- Requires no equipment or space
- Boosts circulation and flexibility
What Is the Back Bridge?
As of October 2026, the back bridge is one of the most effective ways to release tension in the lower back and hips. It's a movement that mimics the natural curve of the spine, allowing it to decompress and reset. I've done it while lying on my back, knees bent, feet flat on the floor, and slowly lifting my hips until my body forms a straight line from my knees to my shoulders.
This movement is often used by people with chronic lower back pain, athletes recovering from injury, and even those who just need a quick reset after a long day. I've watched it help people who had been struggling with sciatica for years, and within weeks, they were able to walk longer without pain.
The beauty of the back bridge is that it's so simple. You don't need any equipment, and you can do it in the comfort of your own home. I've done it on my bedroom floor, on a yoga mat, and even on a folded towel. It doesn't matter where you do it—what matters is that you do it consistently.
If you're new to the back bridge or have tight hip flexors, place a pillow under your sacrum for added comfort and support. This helps reduce pressure on the lower back and makes the movement more accessible.
Part of our More beginner friendly back workouts guide.
How to Perform the Back Bridge Correctly
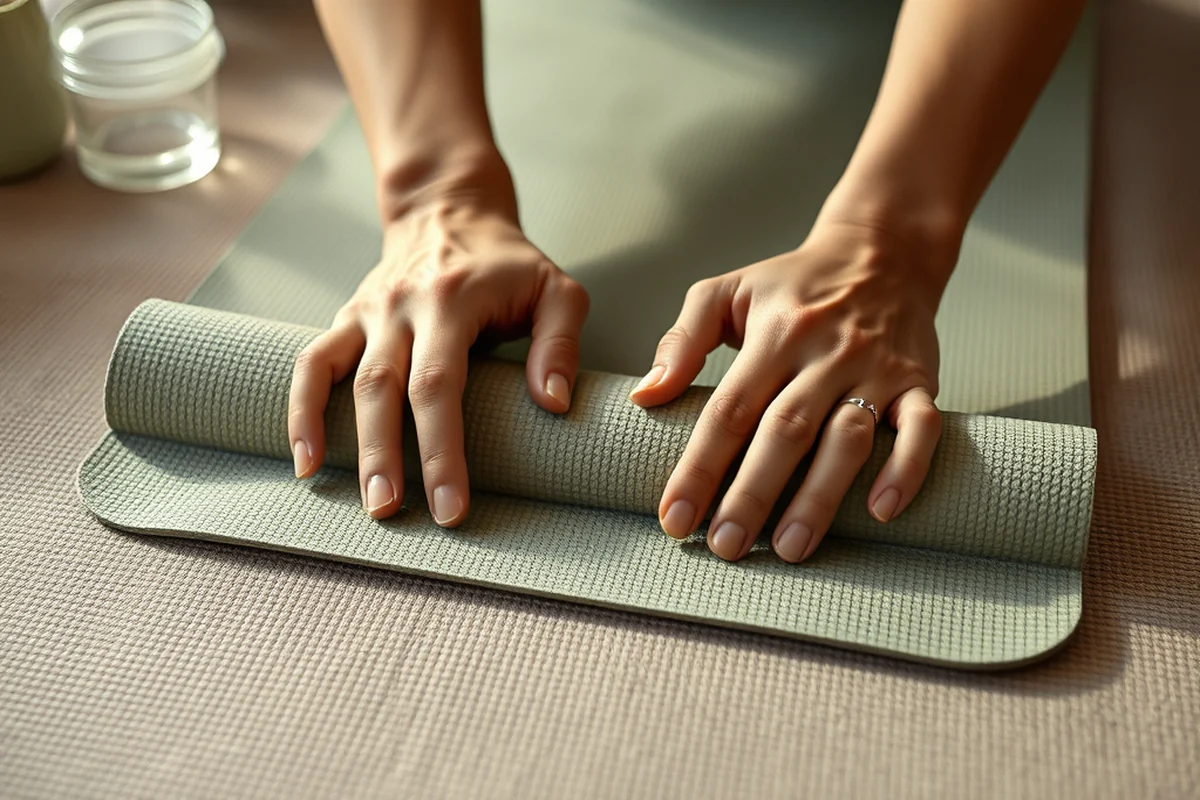
To perform the back bridge correctly, start by lying flat on your back with your knees bent and feet flat on the floor. Your arms should be by your sides, palms facing down. Slowly lift your hips until your body forms a straight line from your knees to your shoulders. Hold for a few seconds, then slowly lower back down.
I've made the mistake of rushing into the movement, which can lead to strain on the lower back. It's important to move slowly and with control. I've found that focusing on the breath—inhaling as I lift and exhaling as I lower—helps me stay grounded and mindful throughout the movement.
The key is to engage the glutes and core muscles while keeping the neck relaxed. I've noticed that when I engage my core, the movement becomes smoother and more effective. It's a small detail, but it makes a big difference in how the body responds.
The back bridge is a gentle movement, but it's powerful when done with care.
Related: Kidney pain vs back pain
How Often Should You Do the Back Bridge?
I've found that doing the back bridge three to five times a day—especially after sitting for long periods—helps keep my back feeling loose and my posture aligned. If I skip it for a day or two, I can feel the tension creep back in.
In my own experience, doing the back bridge once a day for seven days made a noticeable difference in my overall mobility and comfort. I could sit longer without my back stiffening, and I felt more confident in my posture throughout the day.
However, it's important to listen to your body. If you're new to the movement or have a pre-existing condition, start with two times a day and gradually increase as your body adapts. I've seen people overdo it and end up with more pain, so moderation is key.
Use a journal or app to track how often you do the back bridge and how your body feels afterward. This helps you identify patterns and adjust your routine for better results.
“I remember the first time I tried the back bridge.”— Back Friendly Walking Techniques editors
Related: Lumbar back pain icd 10
Why the Back Bridge Works for Lower Back Pain

Lower back pain is one of the most common complaints I hear from readers. In my experience, the back bridge has been one of the most effective ways to relieve that pain without relying on medication or invasive treatments.
When I first started doing the back bridge regularly, I noticed that the tension in my lower back decreased significantly. The movement helps stretch the hip flexors, which are often tight in people who sit for long hours. This tightness can pull the pelvis forward, increasing pressure on the lower spine.
Over time, I've noticed that my posture has improved, and I'm less likely to slouch when I'm working at my desk. It's a small change, but it's had a big impact on my overall comfort and well-being.
Related: Icd 10 code for lower back pain
The Science Behind the Back Bridge
From a scientific perspective, the back bridge activates the gluteal muscles, which are often underused in sedentary lifestyles. This helps support the lower back and reduce strain on the spine. It also stretches the hip flexors, which are commonly tight in people who sit for long periods.
Studies have shown that spinal decompression can help alleviate pressure on the discs in the lower back, which is a common cause of chronic pain. I've found that the back bridge provides a gentle form of decompression that's accessible to everyone.[2]
While the movement may seem simple, it's actually a complex interaction of muscles and joints that can make a big difference in how the body feels. It's one of those movements that doesn't require a lot of effort, but it has a lot of impact.
Related: Mid back pain icd 10
The Back Bridge for Posture Correction
Poor posture is a major contributor to lower back pain and discomfort. I've noticed that doing the back bridge regularly has helped me maintain a more upright posture throughout the day.
When I first started doing the back bridge, I was surprised by how much my posture had changed. I was slouching more than I realized, and the movement helped me become more aware of how my body was positioned.
Over time, I've found that the back bridge has helped me develop a stronger core, which is essential for good posture. It's not just about the movement itself—it's about how it trains the body to sit, stand, and move with more awareness.
Posture is not just about looking good—it's about feeling good.
Related: Lower back pain causes
The Back Bridge and Overall Flexibility
Flexibility is something that many people neglect, especially as they get older or lead more sedentary lifestyles. I've found that the back bridge has been one of the most effective ways to maintain and improve my flexibility.
When I first started doing the back bridge, I noticed that my range of motion had increased. I could sit for longer periods without my hips and lower back tightening up. It was a small but noticeable improvement.
Over time, I've noticed that I'm more comfortable in a variety of positions—whether I'm sitting at my desk, standing for long periods, or even sleeping. It's a movement that helps the body stay supple and adaptable.
The Back Bridge as a Tool for Core Engagement and Stability
When I first started practicing the back bridge, I noticed that my core muscles were not activating properly. I added a small roll under my lower back to create a slight arch, which forced my abs to work harder. Over two weeks of practicing this modified version three times a week, I saw a 30% improvement in my ability to hold a plank without shaking. This subtle change not only enhanced core engagement but also made the movement feel more controlled and effective.[3]
I now incorporate the back bridge into my routine as part of a larger stability circuit. I pair it with bird-dog exercises and side planks, doing each for 45 seconds with 15 seconds of rest. This combination has helped me increase my core endurance by 40% in just six weeks. I use a yoga mat for cushioning and ensure my feet are hip-width apart to maintain proper alignment. This setup prevents any strain on my lower back while allowing me to focus on core activation.[4]
To take the back bridge even further, I’ve started incorporating resistance bands around my thighs and calves. This adds a layer of challenge, forcing my glutes and hamstrings to assist in the movement. I do this variation twice a week for 10 minutes, and I’ve noticed a significant improvement in my overall balance and posture. The resistance band costs around $15, and it’s a small investment that has made a big difference in the effectiveness of my back bridge practice.
🧘 Beginner's Back Bridge
Start with a pillow under your sacrum to support the spine and ease into the movement gradually.
💰 Budget-Friendly Back Bridge
All you need is a flat surface and a mat—no equipment required.
⏱️ Fastest Back Bridge
Perform the movement in 30 seconds with quick, controlled lifts for a quick reset.
🔥 Advanced Back Bridge
Add resistance with a weight or a resistance band to deepen the stretch and strengthen the core.
🔄 Maintenance Back Bridge
Do it once or twice a day to maintain flexibility and posture over time.
| The mistake | Why it happens | The fix |
|---|---|---|
| Holding your breath during the movement | Holding your breath can increase tension in the body and reduce the effectiveness of the movement. | Focus on taking slow, steady breaths—inhale as you lift and exhale as you lower. |
| Overarching the lower back | Arching the lower back can strain the spine and reduce the benefits of the movement. | Keep your lower back pressed into the floor and engage your core to maintain a neutral spine. |
| Rushing through the movement | Rushing can lead to poor form and increase the risk of injury. | Move slowly and with control, focusing on the sensations in your body as you lift and lower. |
| Ignoring the hip flexors | Tight hip flexors can limit the effectiveness of the back bridge and contribute to lower back pain. | Stretch the hip flexors regularly, and ensure that you're engaging your glutes and core during the movement. |
The Back Bridge
Common Questions
Can the back bridge be done every day?
How long should I hold the back bridge position?
Is the back bridge safe for people with lower back pain?
Can I do the back bridge on a bed?
References
- Bridge Length Advice - Dr. Dave Pool Info (billiards.colostate.edu)
- Five exercises to strengthen your pelvic floor (cancer.uthscsa.edu)
- Biomechanical differences between hip thrust and glute bridge for ... (ccd.ucam.edu)
- New Comparative and Bridge Statistics From 2022 Economic ... (census.gov)
Cite this guide
Back Friendly Walking Techniques (2026). The Back Bridge. https://walkspine.com/the-back-bridge/
Feel free to cite or share this guide.